Me and my Kindle, we go everywhere together. We travel together, we bathe together. We even go to the toilet together. The vast majority of my reading material is on the Kindle and I get a little miffed, indeed almost petulant when I can’t get the thing I want to read on my Kindleand have to settle for cumbrous paper stuff instead. However there are forces at work. I was recently quite delighted when the Hugo voting package arrived all ready to be transferred to my ereader of choice. Obviously they knew I wanted it in this format and vast armies of volunteers slaved throughout the winter evenings to make it so, just for me. I was even more delighted when Mark and Claire began producing an ebook version of Banana Wingsand were happy to email it directly to my Kindle as soon as it was ready. This means that every now and again a Banana Wingspowered by pixie dust and fairy powder will appear magically before my eyes when I open up the Kindle. Of course the magic is actually technological gubbinses, but it is magic nevertheless.
However, thinks I. There are many other fanzine editors out there not producing ebook formatted zines. So, my plan (hopefully not an evil one and definitely not very cunning) is to write a piece here showing how to convert your fanzine to ebook format so that we folks with Kindles, Nooks, Kobos, iPads etc will be able to read it on our device of choice.
I’m a terribly obvious fellow and so have chosen the obvious thing to do. That thing is to ask a FanEd to give me his or her files so I can go through the process of creating a zine for ereaders.
I put out my appeal and Rob Jackson tentatively stretched out his toe looking for just a little immersion into the waters of ereaders. I grasp that toe firmly and give it a good
tug. Rob is exactly the sort of FanEd I was looking for. You only have to look at his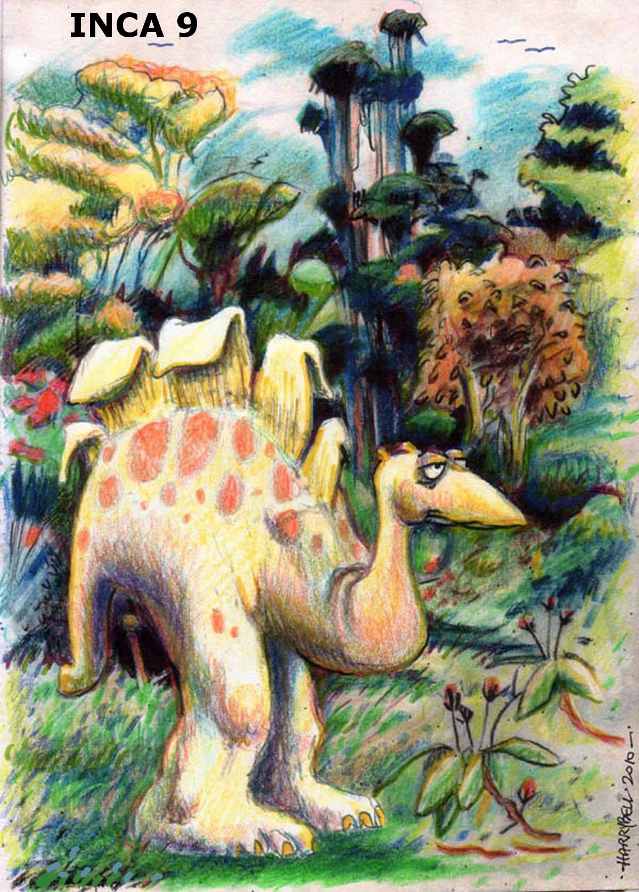 fanzine, Incato see how much he glories in the look of a zine and its layout. Colour photos abound and there’s all manner of pictures, headers and general razzmatazz all over the place. I needed to interact with someone who likes this sort of thing to better understand what goes on in the mind of the FanEd. I, myself am a simple soul and like a very simple layout but my wife tells me I’m a freak and my own FanEd impulses cannot be trusted. Maybe working with Rob will help me figure out how big a gap needs to be bridged before I can persuade people to produce ereader fanzines.
So, Rob sends me his beautifully formatted, double column Word files. First problem is that I’m using a Linux machine. I can read the Word files but cannot convert them back to single column format which is what I need if I’m going to convert his files to read on my Kindle. Carrie (for ‘tis she) leaps to my rescue brandishing a bona fide copy of Microsoft Office and a laptop that will put up with that sort of nonsense. I throw the files across to her and she deals summarily with each one. A little later they return to me reduced to single column and ready for me to convert into a file that can be read by an ereader. My usual process at about this stage would be to shove it through my word processor, check that everything is in more or less the right order and then save it as HTML so I can continue to edit it in a web page editor. At this point you’ve possibly just written me off as some perverted weirdo. We are building a file for ereaders and I want to start playing with web pages. That’s just crazy talk. However the program we will be using to convert the file is Calibre (free download available for most machines) and Calibre understands HTML quite well. Therefore if there’s any fine tuning to be done then HTML markup language is the way to go. I realise however that not everyone enjoys larking about with pointy brackets and the like so I wonder if there is a way we might be able to avoid the HTML editor. I load up the Word files into my word processor and save them as .odt files (Libre Office, Open Office and most of the open source word processor packages will use this format). I then start editing the files. There is a glorious cover image by Harry Bell and I import this into the word processor and then save it out again as a jpeg (it could, of course be any picture file but my personal default is usually jpeg). Calibre will want a picture file to be the fanzine cover image. Next there’s a file with the contents page. I delete those contents so that Calibre will be able to build its contents page from everything that I mark as a piece of header text. I slot in the guest editorial about trying not to kill Nigerian families and remove the footers and headers. I agonise over changing the size of the picture at the end of the ‘Fun with Faans’ article. It is a wide picture that will look far too small on the portrait view of a 7 inch screen. I can’t really alter it too much without messing up the ratio and making the picture look squashed. The fanzine is going to look better in portrait mode but this picture is certainly going to be too small to show up any detail. Next there’s the ‘Gift of Memory’ article which is fine until we reach the photos. Carrie has tried to separate them out for me but I’m still finding photos scattered hither and thither with a variety of strange captions claiming that a single female is Terry Hughes and Arnie Katz. Fandom is a splendidly varied place but sometimes physics steps in and tells us that certain things just aren’t possible without the Key to Time, the Power of a Collapsing Star and the Psychic power of the Krell. I anchor all the pictures to a character and make that character its description. I also indicate no wrap for every picture as Calibre will insist that text doesn’t flow around pictures no matter how much you might want it to do so. ‘Uncle Johnny’s Weird Dream’ is easy as that is just plain text and then we have the LoCs. I remove headers and footers and mark the main title, ‘Circulation’ as Header1. Looking back at the contents page I notice that Rob has an additional contents list for the art credits. I figure that if he wants a list for the art credits then I should see if it’s possible to provide that. I delve into the help files and find something that may offer a halfway solution. When you are converting books in Calibrethere is a table of contents section
 and you can enter Xpath expressions (Xpath is a language used to manipulate XML files) to alter the behaviour of the program when it builds the table of contents. It can do up to 3 levels of contents so you can have chapters within chapters. I add the expressions //h:h1 and //h:h3 to 2 of the ‘Table of Content’ levels. I then put a little title on all the photos and artwork saying something like, Artwork by Alan Hunter and mark it Header 3. This will then slot in a second level link to the artwork in the table of contents so that between the chapter headings there will be another level as if they were chapters within chapters. The zine has been altered quite a bit by this jiggery pokery. I wait with bated breath to see what Rob thinks of it. It is quite possible he will hate it. He’s created this thing and I’ve made it into something similar but not the same.
And so Rob received the files and first transferred the epub edition to his phone. I must admit, I hadn’t thought of reading a fanzine on a phone but I suppose it’s quite possible. He seemed pleased with the experience although made mention that it had made ‘quite a dogs breakfast of the photos in the ‘Gift of Memory’ Suncon article.
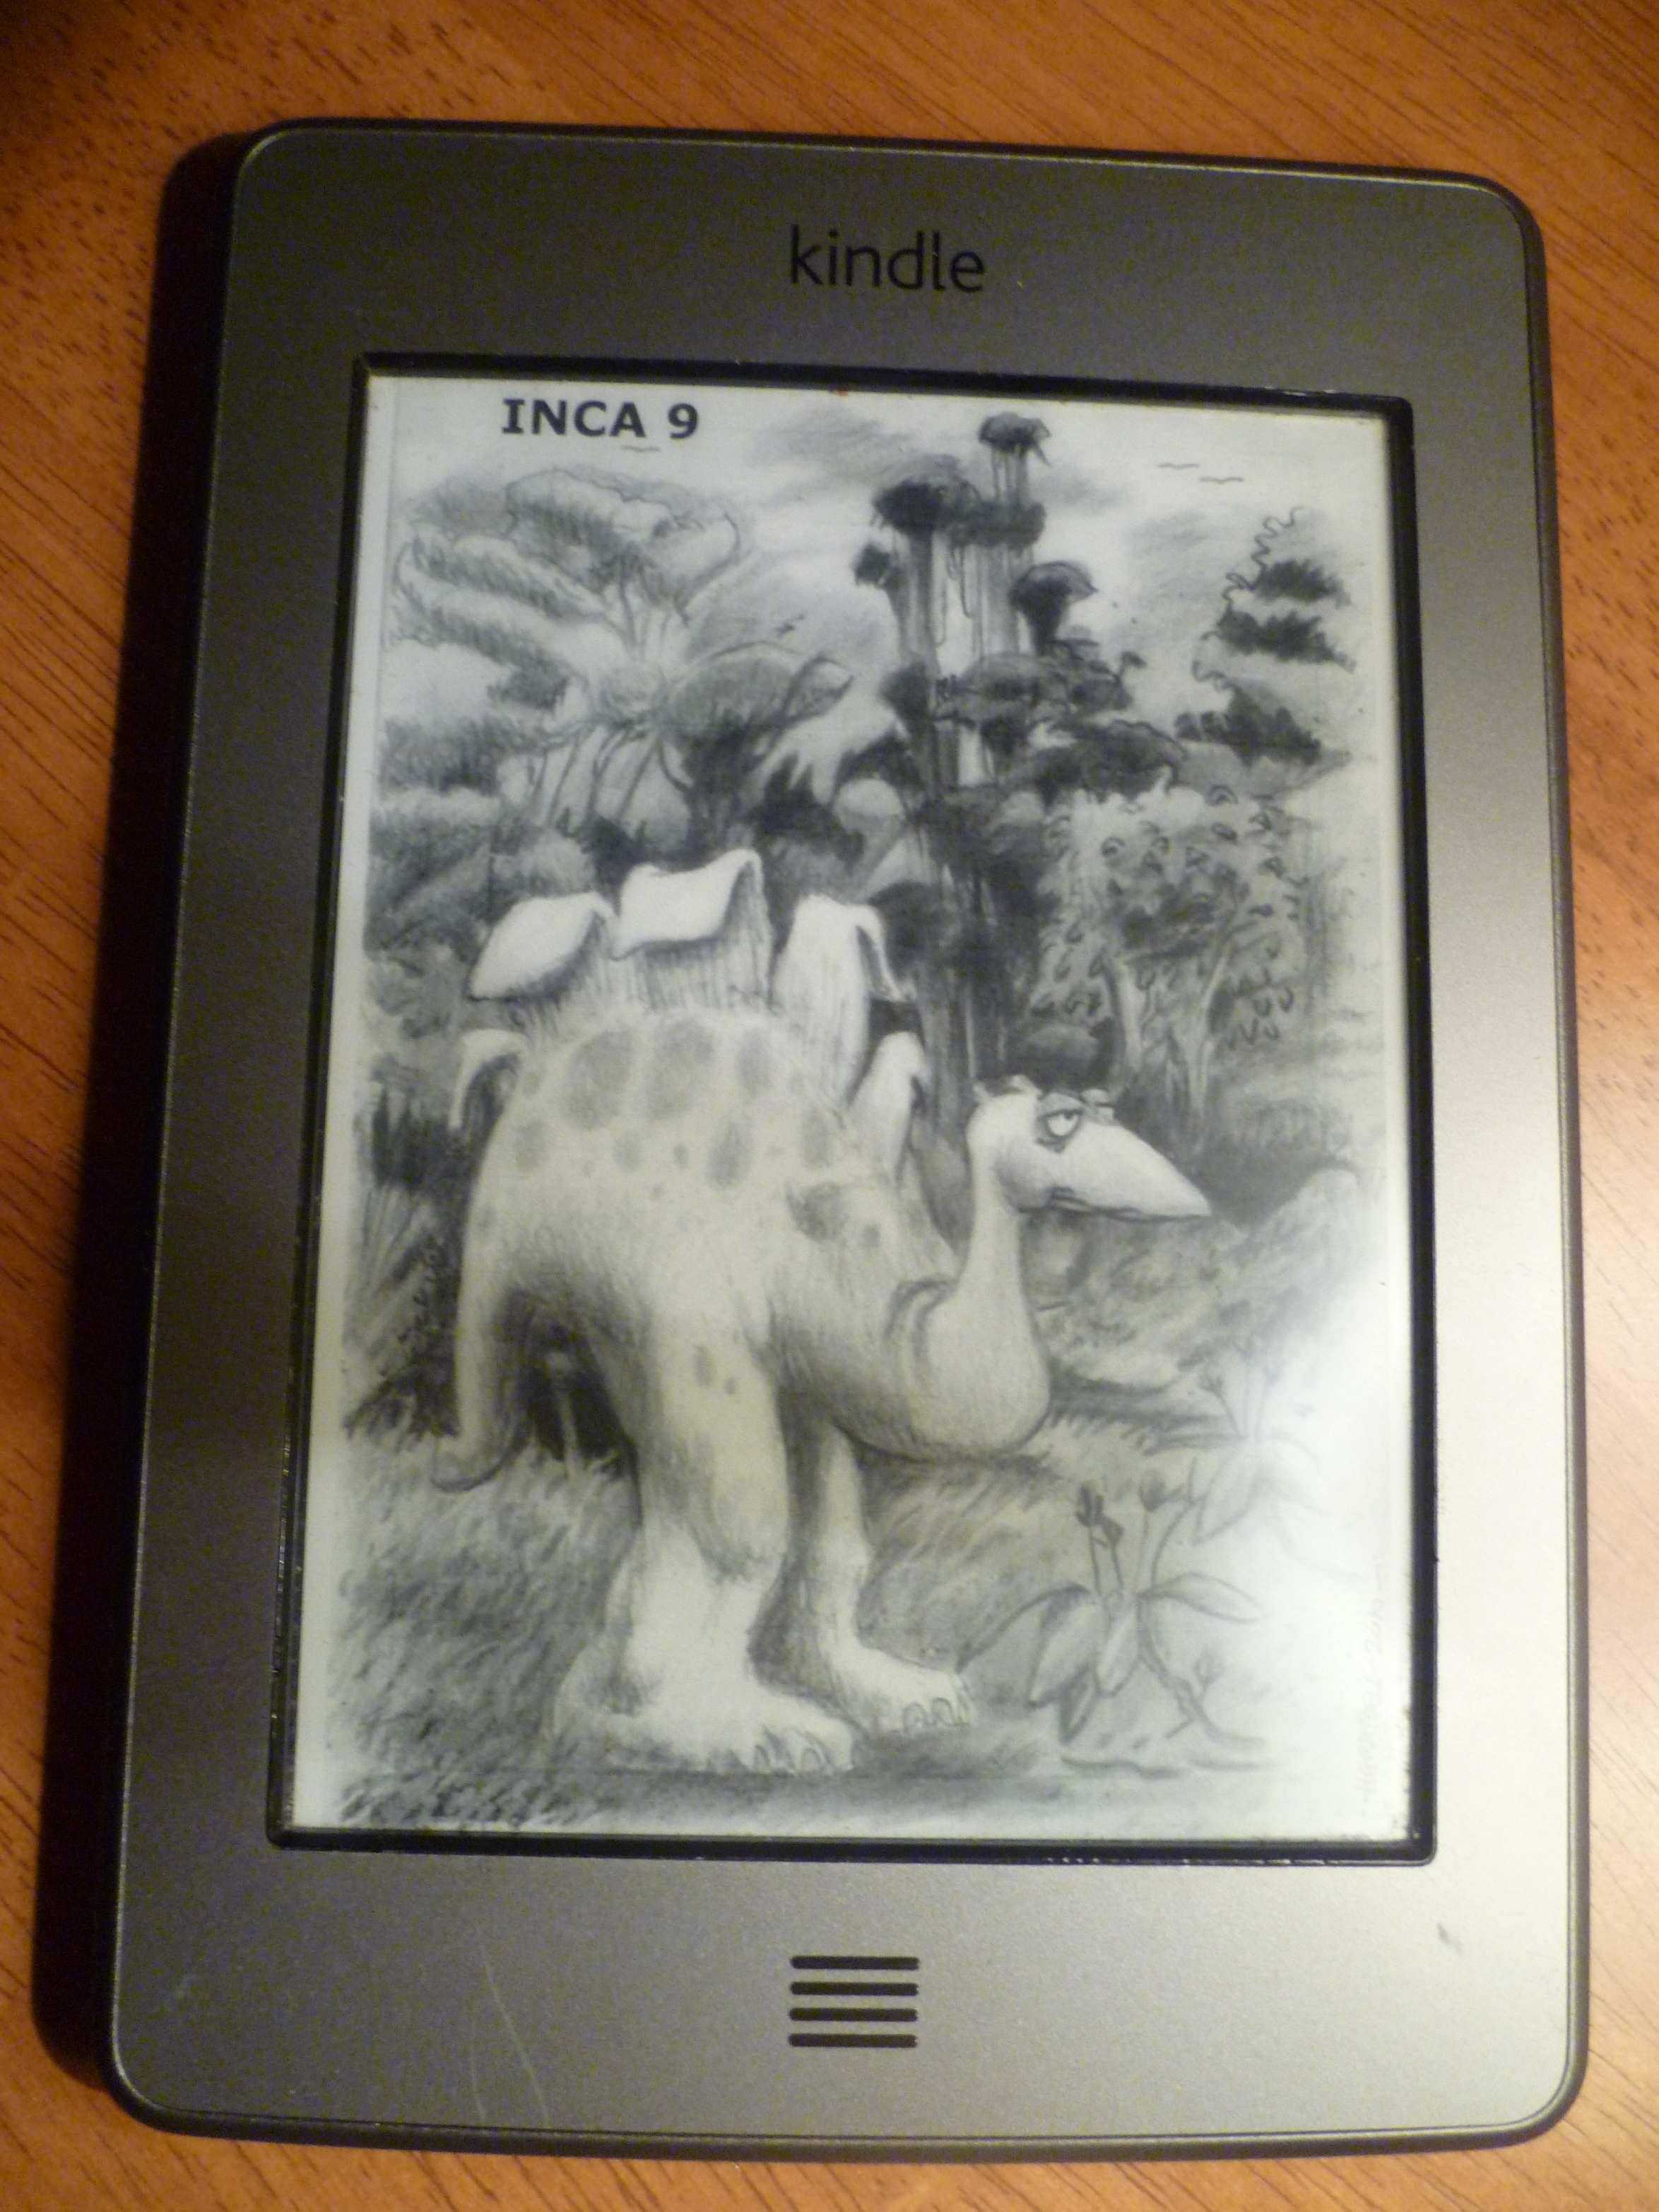
I also sent the ebook version of Inca to his Kindle and this was apparently much more pleasing. So I feel I’ve had quite a good response here. There are sacrifices to be made to adapt fanzines to the small screens of most ereaders but Rob Jackson seemed happy with what it did to his fanzine when it was converted to ereader format.
Toolkit
A word processor
Calibre (the conversion program)
Steps
If you have more than one column then convert your word processed file back to single column.
Format the art and photos so that they are anchored to a character (the character should be part of a sentence describing what the photo is or one that names the artist or photographer). In Microsoft Word the anchor option is a little hidden. It’s a hidden text option. Navigate to the view tab of Tools : Options and tick the box that says object anchors. After you have done this you will see a small anchor near your picture when you select it. Just grab this anchor and place it onto the text to which you are anchoring the picture. Of course, you may find different methods of holding down the picture to a particular piece of text.
Make each picture ‘no wrap’. Calibre can’t flow text around pictures so best to get this sorted at the word processor stage and it will make the conversion easier. In Microsoft Word you would probably choose the ‘Top and Bottom’ text wrapping option. This lurks under the advanced tab on your text wrapping options.
Make sure your text is formatted similarly throughout so that the document has a nice consistent look.Remove any page headers and footers. The document is going to look quite different as an ebook.
Make all the titles into header1 text. Highlight the text and then use the drop down box in your toolbar. Calibre will read these as the beginning of a chapter and so start a new page. It will also put that title into the table of contents. These will be links so that the reader can click on their chapter/article of choice and be transported to that page.
Save the file as an odt file or if you’re using Word then save as a .docx or a HTML file.
Import your file into Calibre using the ‘add books’ button.
Convert the book using the convert button. This will take you through a series of
 options. The first page you are presented with is the metadata page. You can fill in the title of the zine and author name here. You can also add your cover image here too. There are 2 drop down boxes at the top of the page to the right and the left. One is to choose the input format and one to specify output. There are many other options you can play with to fine tune the conversion but I usually just choose a couple to tweak. With Rob’s zine I added a couple of bits of markup to the ‘Table of Contents’ section. I put this //h:h1 in the space for level 1 TOC and this //h:h3 in the space for level 2 TOC. This will cause Calibre to search through the document for any text marked up as H1 (H1 is all the chapter headings that you converted into header1 text) and putting it into the table of contents as a chapter and then within those chapters it will look for level 2 chapters marked up as H3 (these are the little bits of text describing the artwork that you marked as ‘header3’ in your word processor) and will place them in the table of contents also. I used this to place the artwork and photos on the table of contents.
When I’m producing mobi files I will also go to the mobi output section and tick the box that says put generated table of contents at the start of the book instead of the end. I’m a little baffled as to why the default is to place the table of contents at the end of a book.You will probably do all of this twice, once to create a mobi file and once for an epub.
Then you’ll need to get them onto your reading device. I was a little surprised that Rob had only put books onto his Kindle by using the Kindle store. He’d used his Kindle very seldom so hadn’t really got around to experimenting with it yet. I wrote out a little guide explaining how to get documents onto the Kindle which I have reproduced here.
How to get files onto your Kindle
We have one, no two main ways – among the ways we can put files on your Kindle are:
Treat it as a USB drive. You’ve probably got a USB cable with it. Plug one end in your computer and the other end in the Kindle. It should show in ‘My Computer’.Open it up and you’ll see some folders. One of them will be Documents. The .mobi file can be dropped in there and you will see it the next time you open your Kindle.
The other is slightly more complicated but immensely more wonderful and magical. Go to the Amazon store – log in.Go to ‘your account’ and then navigate to ‘Manage Your Kindle’.In the box at the side you will see an option called ‘Personal Document Settings’.You will see a menu come up. At the top it will probably say something like ‘Rob’s Kindle’.There will be an email address at the side of this.This is the address that the person will need who will be sending things to your Kindle.
Further down you will see‘Approved Personal Document E-mail List’
You will need to enter my email there using the ‘add a new approved email address’ option so that I can send you the file.
Enter the address, jim@umor.co.uk and click add address.
Next time your Kindle connects to your wifi then you should receive the fanzine.
Obviously your Kindle name may be slightly different (unless you are using Rob’s Kindle) and you may add a different address. Anyone who wishes to receive my fanzine on their Kindle then follow the instructions above, send me your Kindle email address and my zine will appear, as if by magic upon your Kindle ereader. There may be ways to do similar things with other devices. Please write and let me know and I’ll pass that information along.